iPod build: Part 1
The iPod — a genuine classic. My first one came in 2005, bought after a winter spent on a paper route. It wasn’t fancy: an iPod shuffle with a generous-for-the-time 512 MB of storage, but it felt like a small treasure. Still, it was mine, earned with my own money and a lot of cold weekend mornings. I filled it quickly, and by working through the summer and fall I’d saved enough to get a 30 GB black iPod Video. That device became my constant companion through high school and college, a soundtrack to late-night study sessions and weekend hangouts — until smartphones became a thing in around 2008 and changed everything.
During my digital detox, I also gave up music streaming — which pushed me back to the classics: MP3 players. I checked current models online but none felt right. Luckily, my roommate had an iPod Video that needed some restoring, so he handed it to me for the unbeatable price of free.
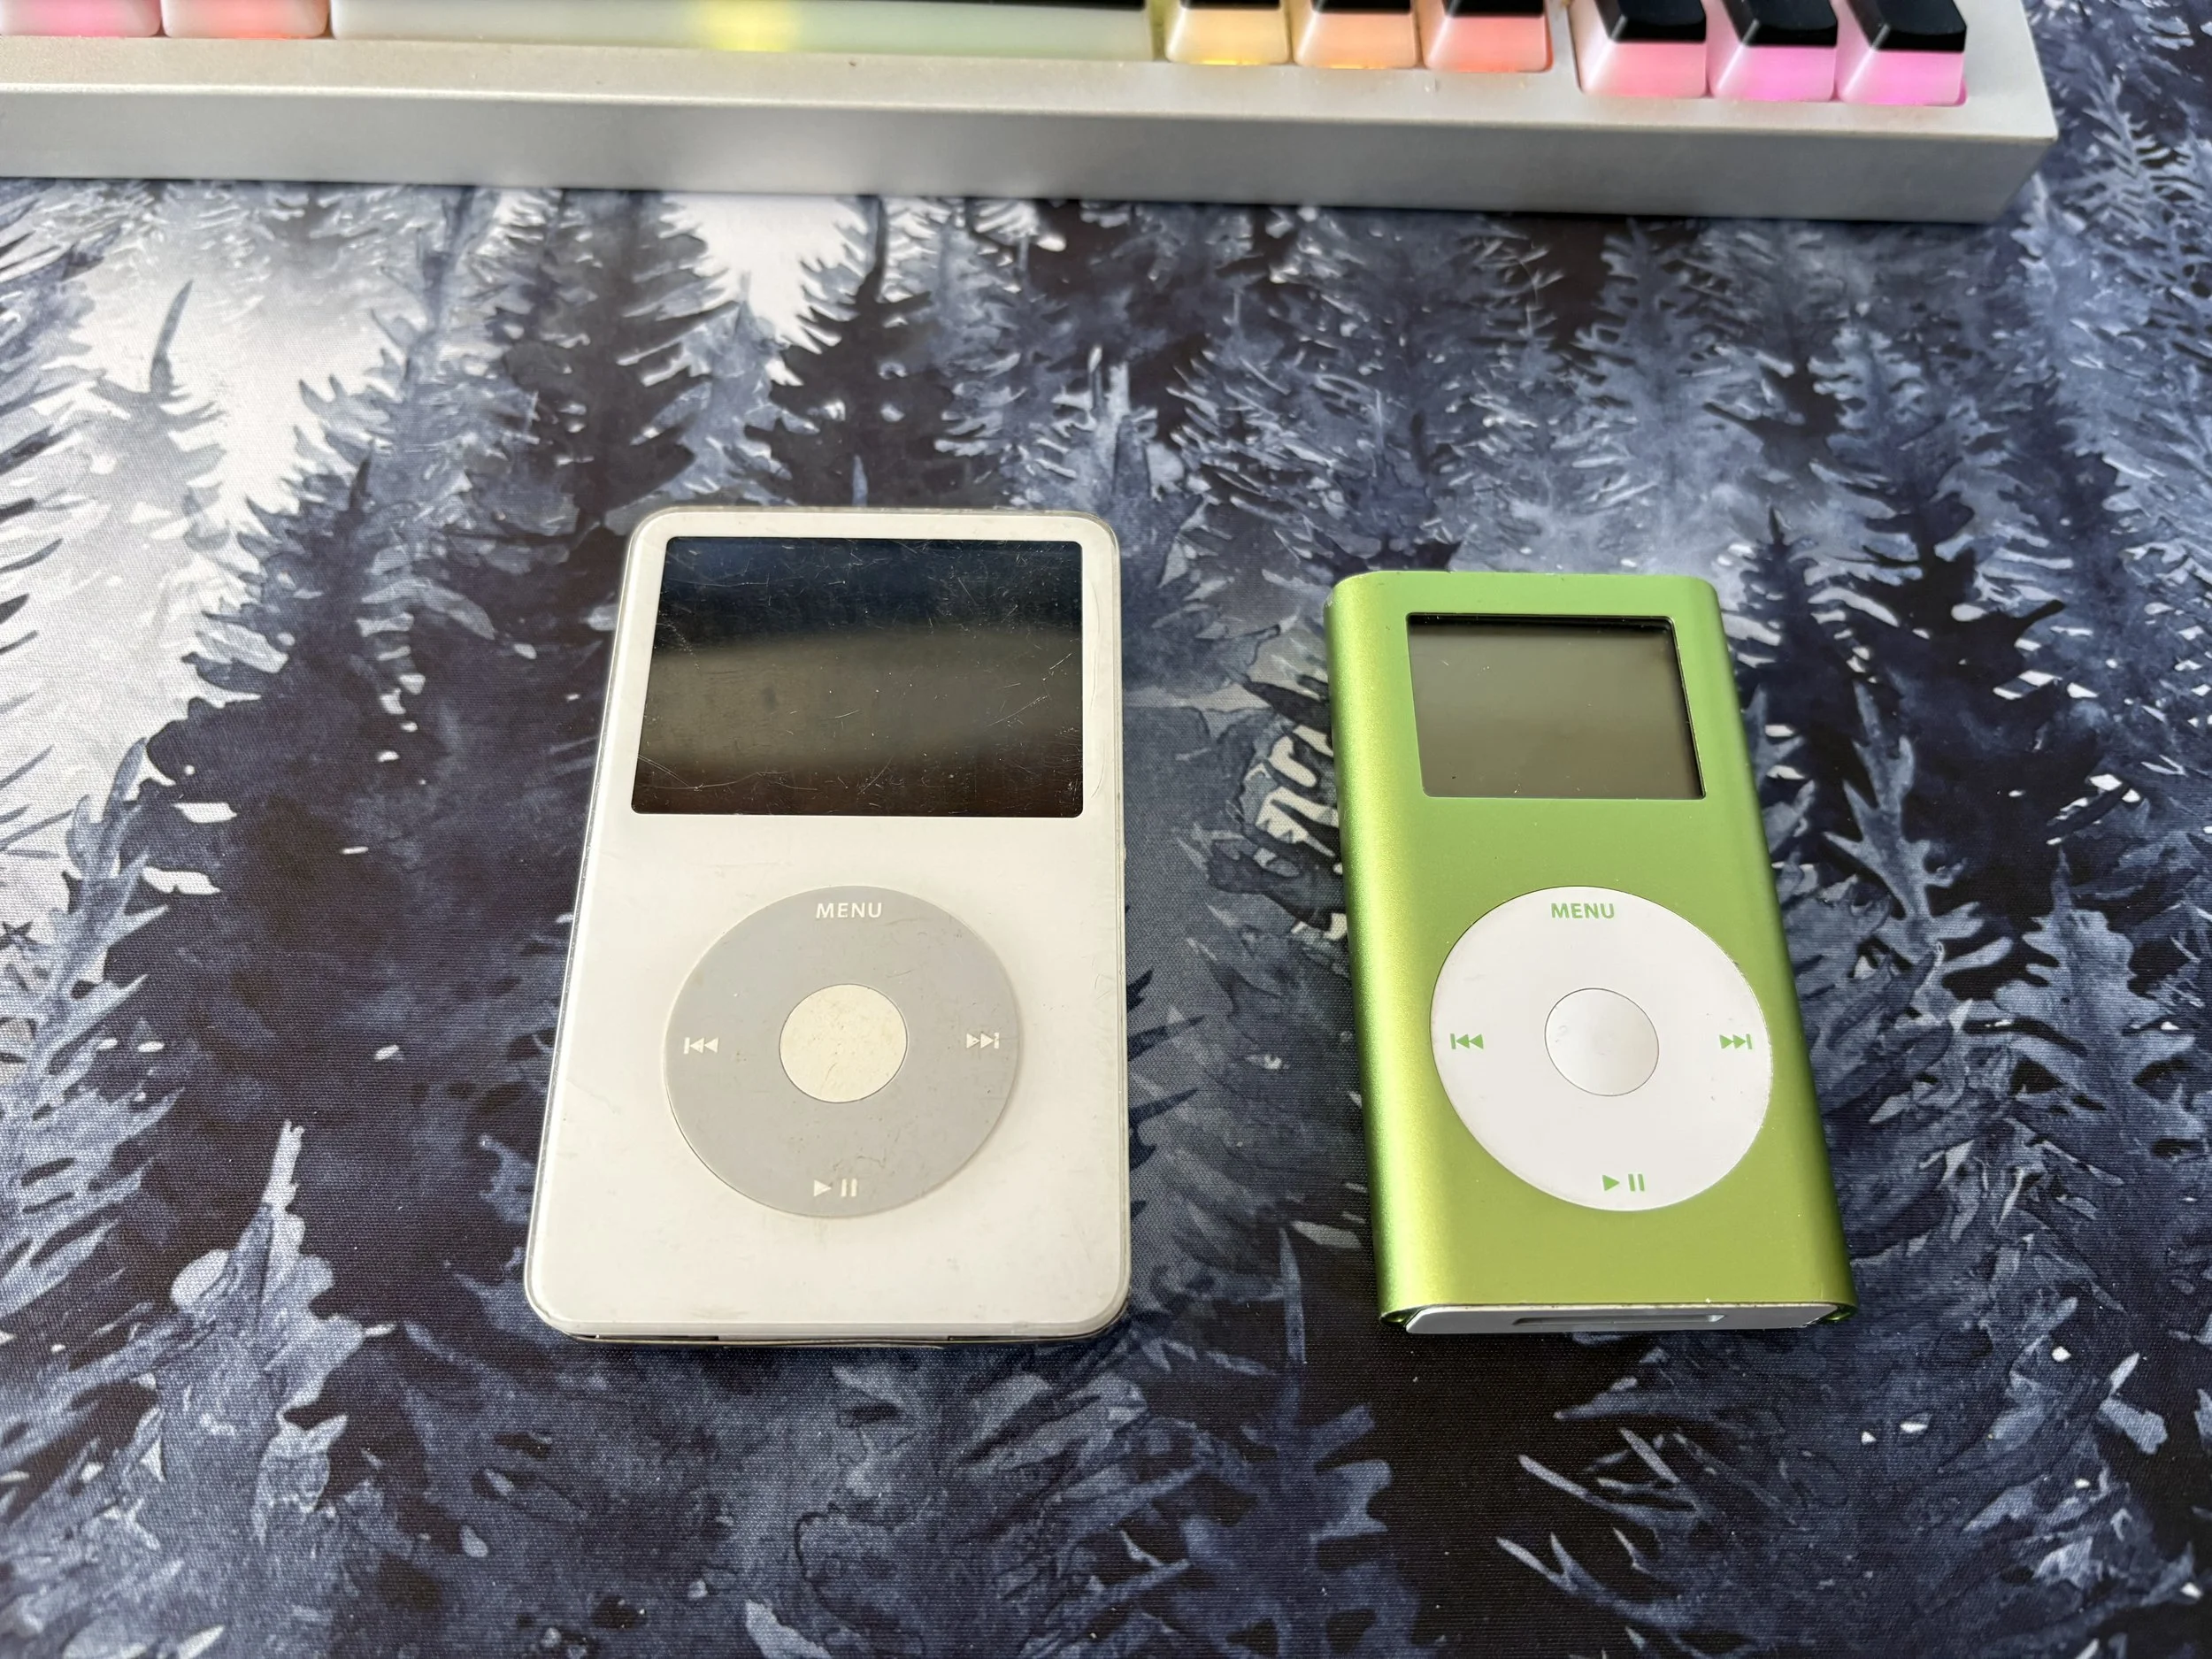
My Free iPod next to my not-so-free iPod Mini: also flash modded to 64GB
This poor thing had definitely seen better days. The front plastic was marred by deep scratches and discoloration, the click wheel’s coating was almost completely worn away, the back cover was dented, and worst of all — the hard drive was dead. It was going to take more work than I’d expected. On the bright side, I’d never done a full iPod rebuild before, so I was curious to tackle the challenge. Fortunately, fifth‑generation iPods are relatively easy to modify — much simpler to work on than the sturdier, later models.
Why the 5th Gen? Well, I’d be a liar if I didn’t say nostalgia played a big part in it. I briefly had a 60GB 6th Generation, but there’s just some thing so classic to the 5th Gen that never really was captured in the 6th. Also, the 5th and 5.5th Generation iPods have a secret: the Wolfson Audio DAC. Audio is louder, clearer, crisper, and the iPod itself can power much more robust headphones. A perfect match for my Truthear Zero RED IEM’s.